

Chrome bumper repair addresses rust, dents, and scratches, maintaining vehicle safety and value. Equip with tools like brushes, sandpaper, filler, primers, paints, safety gear, and toolkit for DIY restoration. Clean, prepare, prime, paint, and buff to achieve a sleek, like-new finish matching the vehicle's exterior.
Looking to restore your car’s sleek look? Discover the ultimate guide to Chrome Bumper Repair, fixing rust, dents, and scratches effectively. Chrome bumpers are not just for style; they require proper care. This article delves into the common damage types, outlines essential tools and materials, and provides a detailed step-by-step process to ensure your bumper looks as good as new. Master the art of chrome bumper repair today!
- Understanding Chrome Bumper Damage: Rust, Dents, Scratches
- Tools and Materials for Effective Repair
- Step-by-Step Guide to Restoring Your Chrome Bumper
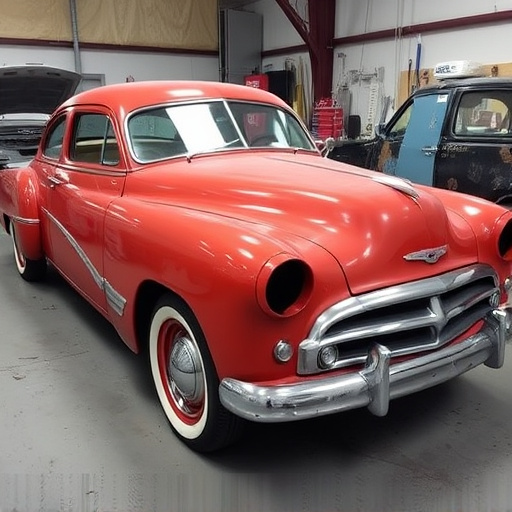
Understanding Chrome Bumper Damage: Rust, Dents, Scratches
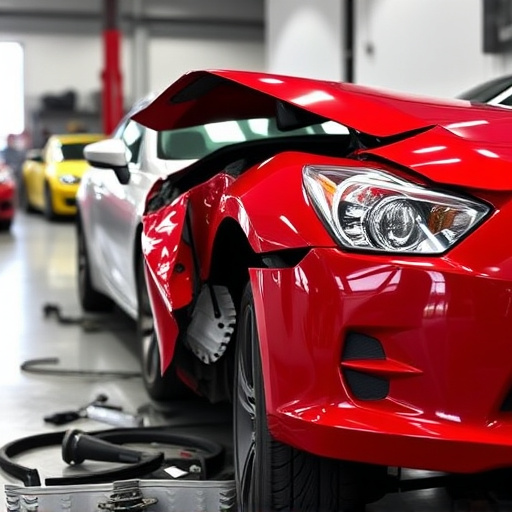
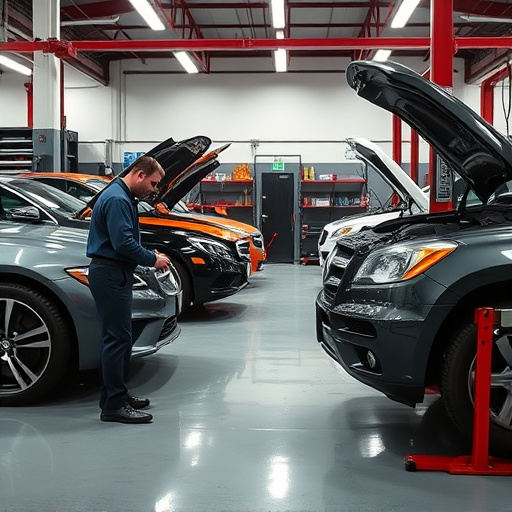
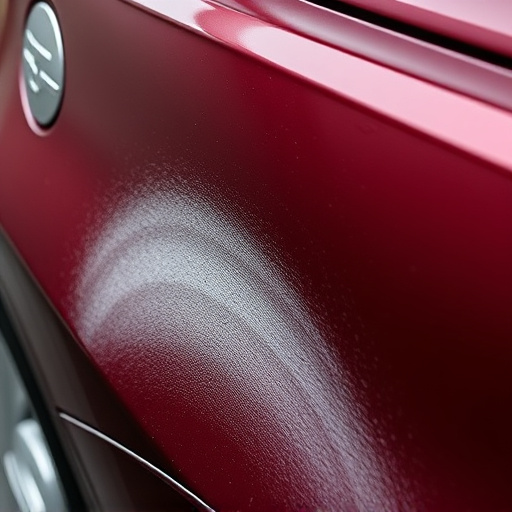
Chrome bumpers, once sleek and shiny, can fall victim to various forms of damage over time. The most common issues include rust, which can start as small pitting and develop into widespread corrosion if left unchecked. Dents and scratches are also frequent problems, often caused by hail storms or minor collisions. These imperfections not only affect the aesthetic appeal but can also compromise the structural integrity of the bumper.
Proper chrome bumper repair is essential to restore both the vehicle’s appearance and safety. It involves addressing each type of damage individually. Rusted areas may require a specialized cleaning process followed by repainting to match the original finish. Dents can be carefully molded back into place or, in severe cases, replaced entirely. Scratches, depending on depth, might need polishing or even a complete restoration treatment for a smooth, glossy surface. Autobody repairs for chrome bumpers are a delicate process that demands skill and precision to ensure a long-lasting, high-quality repair outcome.
Tools and Materials for Effective Repair
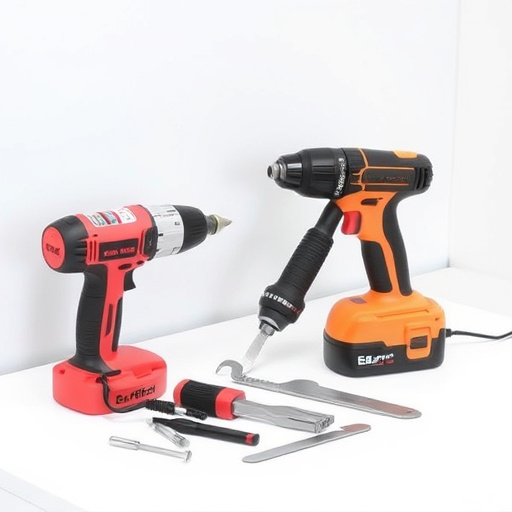
For effective chrome bumper repair, the right tools and materials are essential. This includes a variety of brushes, sandpaper (in different grits), a power drill with various bits, and a metal filler or putty designed for automotive use. Additionally, you’ll need primers, paints, and clear coats specifically formulated to match your vehicle’s chrome finish. Don’t forget safety gear like gloves, goggles, and a mask to protect against dust and chemicals. A well-stocked toolkit ensures a smoother process, allowing you to tackle dents, rust spots, and scratches with confidence, transforming your bumper back into a sleek, like-new condition, much like what an automotive body shop would achieve. Remember, proper auto maintenance is key to preserving your vehicle’s appearance, and taking on these repairs yourself can save costs compared to visiting a professional automotive body shop.
Step-by-Step Guide to Restoring Your Chrome Bumper
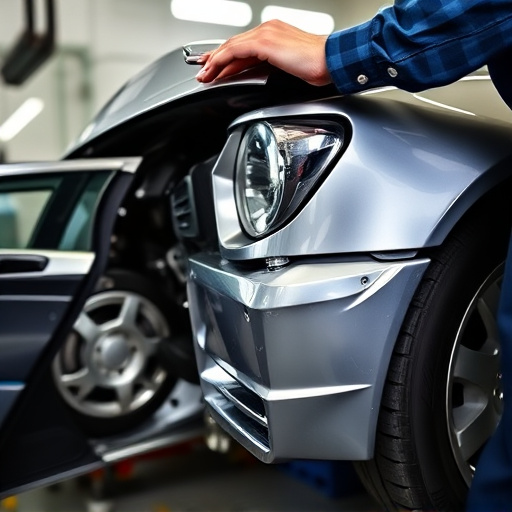
Restoring your chrome bumper is a straightforward process that can significantly enhance the appearance of your vehicle, particularly if it’s a luxury car or SUV with a striking chrome finish. Here’s a step-by-step guide to achieving a flawless repair:
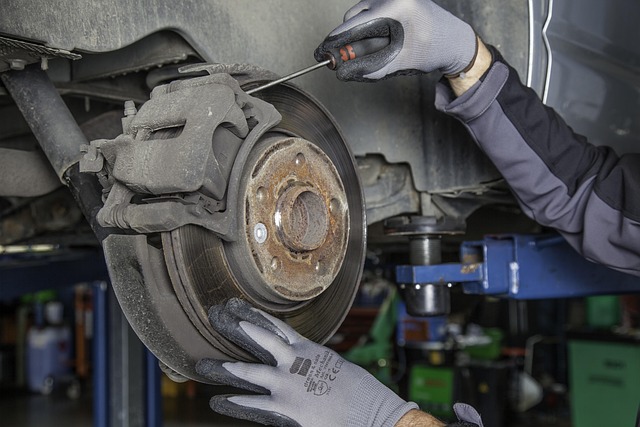
1. Preparation: Begin by cleaning the damaged area thoroughly using a mild detergent and microfiber cloth. Ensure no debris or dirt remains as this can affect the adhesion of the repair materials. For severe dents, use a dent puller or hammer and dolly set to gently push out the depression, being careful not to mar the chrome surface.
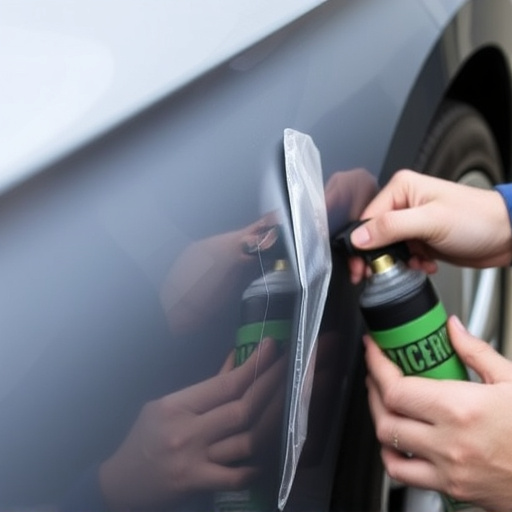
2. Sand and Prime: Lightly sand the repaired area with fine-grit sandpaper to create a smooth texture. Remove any loose particles and apply an appropriate primer designed for vehicle paint repair, specifically those formulated for chrome or metallic finishes. Allow the primer to dry completely according to the manufacturer’s instructions. This crucial step ensures better adhesion for the subsequent coat of paint.
3. Apply Chrome Paint (or Luxury Vehicle Repair Kit): Using a high-quality chrome paint or a specialized luxury vehicle repair kit, carefully apply the paint to match your bumper’s original finish. Follow the product’s application guidelines, ensuring even coverage. For car scratch repair, this step can often correct minor scuffs and swirls, restoring the bumper’s glossy appearance.
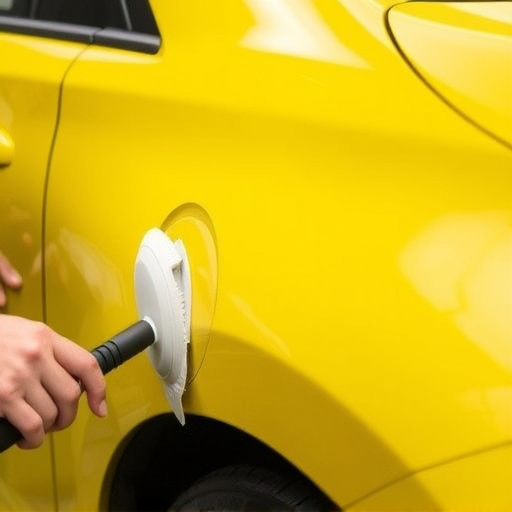
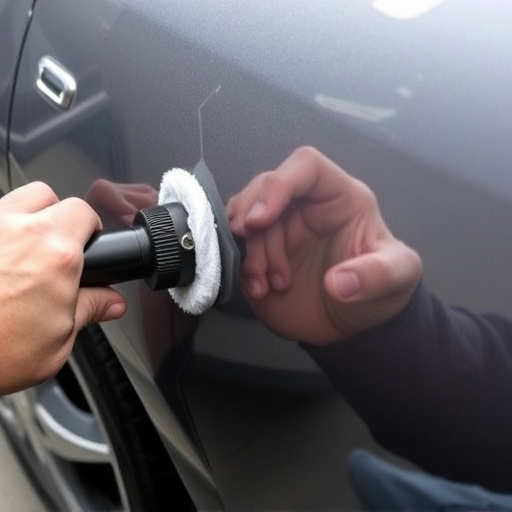
4. Final Touches: Allow the paint to dry, then inspect the repaired area closely. If needed, apply another thin coat for a more uniform finish. Once satisfied with the result, buff the surface gently using a microfiber cloth to achieve a smooth, shiny surface that blends seamlessly with the rest of your vehicle’s exterior.
Chrome bumper repair is a cost-effective solution for restoring your vehicle’s aesthetic appeal. By understanding common damage types like rust, dents, and scratches, you’re well-prepared to tackle the fix using the right tools and materials. Following a detailed step-by-step guide ensures a successful restoration, bringing your chrome bumper back to its former gleam. Take action now to achieve a flawless, like-new finish and avoid the need for expensive replacements.