

Chrome bumper damage from road debris and parking mishaps is common. Repairs range from repolishing light scratches to replacing severe structural damage. Before repair, gather tools and high-quality materials. Cleaning, inspection, and careful assessment guide restoration or replacement. Protective coating completes the process for a seamless, polished finish.
“Uncover the simple process of performing a chrome bumper repair with our comprehensive guide. Chrome bumpers, known for their sleek look, often face damage from minor bumps and scratches, which can depreciate your vehicle’s appeal. Understanding the common causes of chrome bumper damage is the first step towards restoration. This article equips you with the knowledge to gather the necessary tools and materials, then provides a step-by-step guide to effectively restore your car’s eye-catching chrome bumpers.”
- Understanding Chrome Bumper Damage and Causes
- Gather Tools and Materials for Repair
- Step-by-Step Guide to Chrome Bumper Restoration
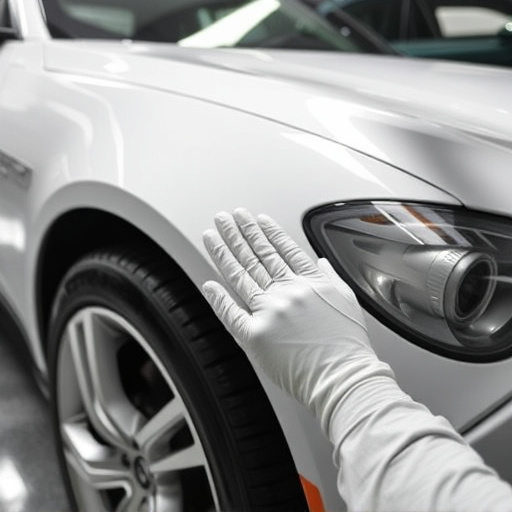
Understanding Chrome Bumper Damage and Causes
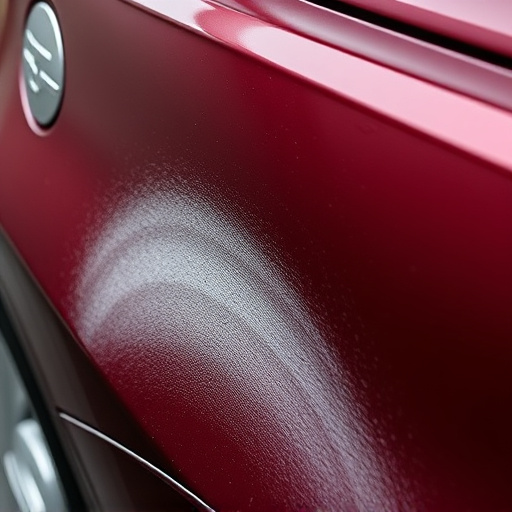
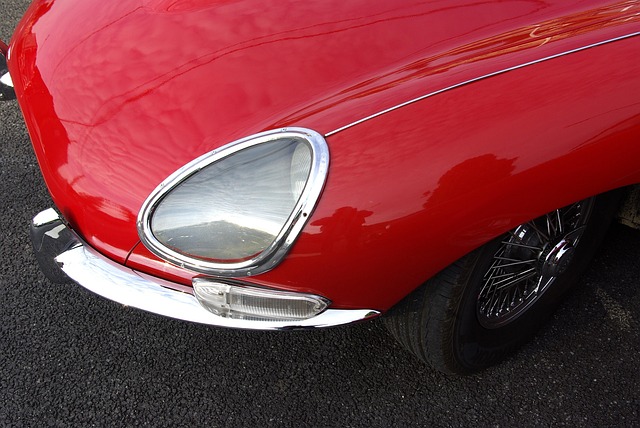
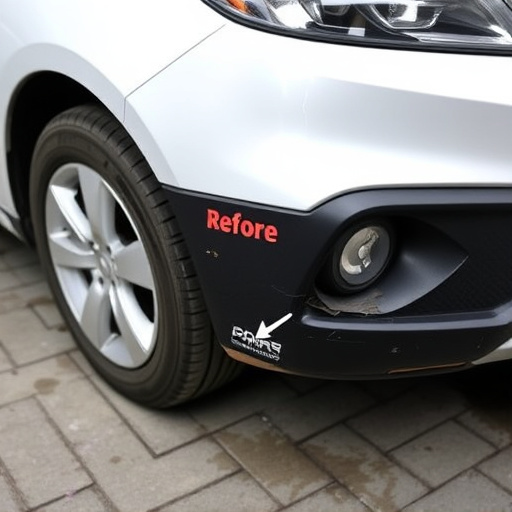
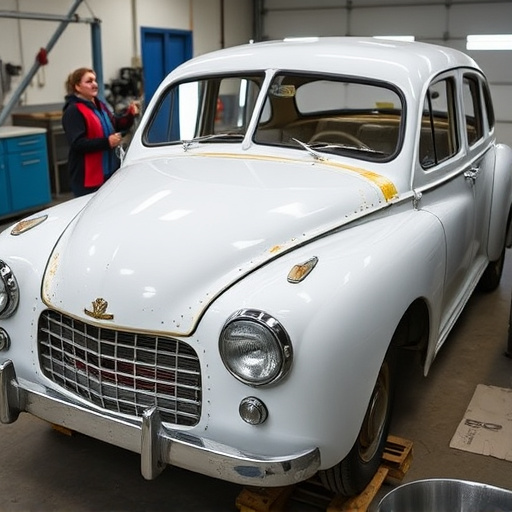
Chrome bumper damage is a common issue that can occur due to various reasons. The sleek and decorative element that enhances a vehicle’s appearance is vulnerable to nicks, scratches, dents, and cracks caused by everyday driving experiences or accidental bumps. These damages can range from minor scuffs to severe impact-related deformities. Understanding the causes of such damage is crucial for anyone considering chrome bumper repair.
One primary cause is regular road use, where debris like stones, pebbles, or other cars’ buffets can leave scratches or nicks. Parking in tight spaces or garages with low ceilings may result in collisions that cause dents and dings. Moreover, car scratch repair might be necessary for cosmetic reasons, as minor scuffs and swirls can detract from the bumper’s shine and overall aesthetics. Autobody repairs for chrome bumpers often involve either repolishing, where light scratches are removed through sanding and buffing, or more intensive methods like replacement, which is required for severe damage or cracks that compromise structural integrity.
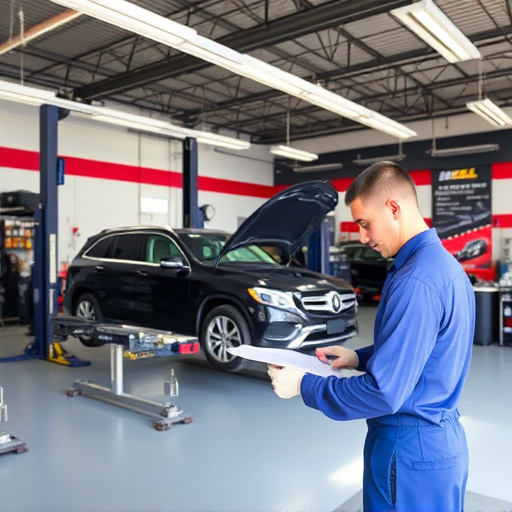
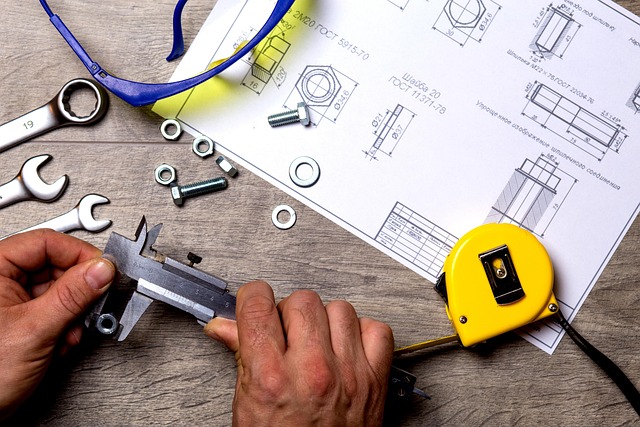
Gather Tools and Materials for Repair

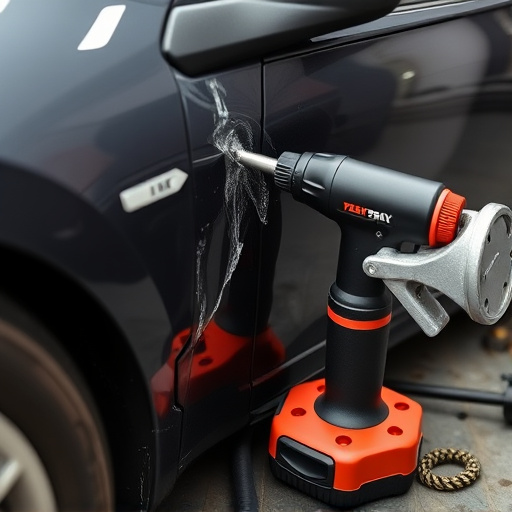
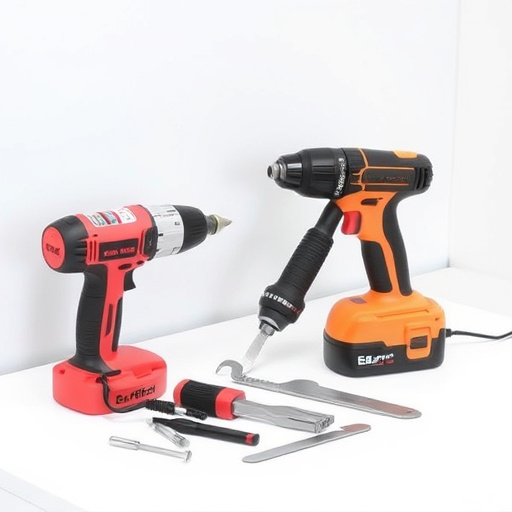
Before beginning any chrome bumper repair, it’s essential to gather all necessary tools and materials. This process requires a specific set of equipment designed for precise work on automotive parts. For a successful chrome bumper repair, you’ll need sandpaper in various grits, a wire brush, degreaser, isopropyl alcohol, chrome restoration solution, applicators, brushes or pads, tape, and a clean cloth. Ensuring you have these essentials on hand allows for an efficient and effective repair job, whether it’s for your personal vehicle or as part of fleet repair services at a collision repair center, like those specializing in Mercedes-Benz repairs.
Proper preparation enhances the outcome, so make sure to select high-quality materials suitable for chrome bumper repair. The right tools enable you to achieve a seamless finish that matches the vehicle’s original specifications. Whether it’s for minor dents or significant damage, having the right supplies makes all the difference in the final result, providing either a quick fix or a comprehensive restoration, as with many collision repair center operations.
Step-by-Step Guide to Chrome Bumper Restoration
Restoring a chrome bumper involves a meticulous process that can revive its original sparkle. Here’s a step-by-step guide to navigating this car collision repair task:
1. Preparation: Begin by thoroughly cleaning the damaged bumper to remove any dirt, grease, or debris. Use a mild detergent and a soft cloth for this purpose. Ensure the surface is dry before proceeding. This preparation step is crucial as it ensures that the repair material adheres properly.
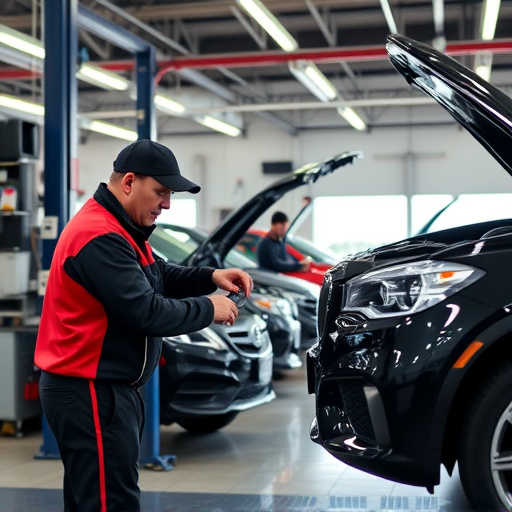
2. Inspect and Assess: Carefully examine the extent of damage. Identify cracks, dents, or missing parts. For minor scratches and dents, a simple polish might suffice. However, for more significant damage, replacement parts may be needed. Many vehicle body shops offer chrome bumper repair services, utilizing specialized tools and expertise to handle complex cases.
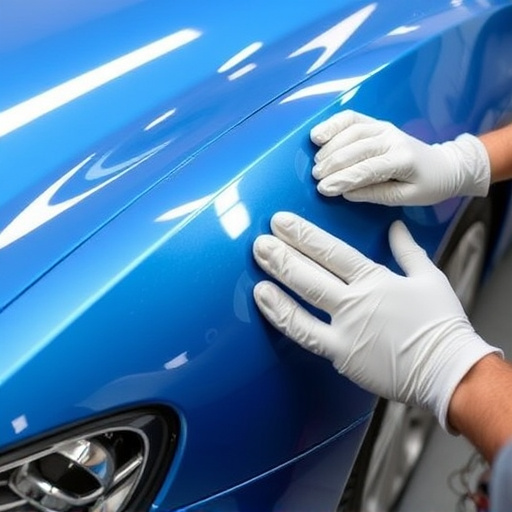
3. Repair or Replace: If the damage is minimal, use a high-quality chrome restorer or polisher to fill in scratches and bring back the shine. For more severe cases, remove the damaged section and replace it with a new bumper piece. This often involves precise cutting and fitting to ensure a seamless finish.
4. Finishing Touches: After repairing or replacing, apply a protective coating to shield the chrome from future damage and fading. Regular maintenance and polishing will help keep the bumper looking its best over time.
Chrome bumper repair is a feasible DIY project for those with the right tools and knowledge. By understanding the common causes of damage and gathering the necessary materials, you can effectively restore your car’s sleek look. Following the step-by-step guide ensures precise results, allowing you to navigate the process with confidence. Remember, proper care and regular inspections can prevent future chrome bumper damage, keeping your vehicle looking its best for longer.